Email: [email protected]

Your driveway is like your home’s red carpet. It’s the pathway to your lawn, your house, remodeled garage and inner sanctum. But sometimes, that lovely pathway gets worn down and requires a little TLC to get it back up and running like new.
But what do you do after the repairs? How do you get it to last longer? How do you keep the crisp newness while protecting your investment from the elements? You try driveway sealing.
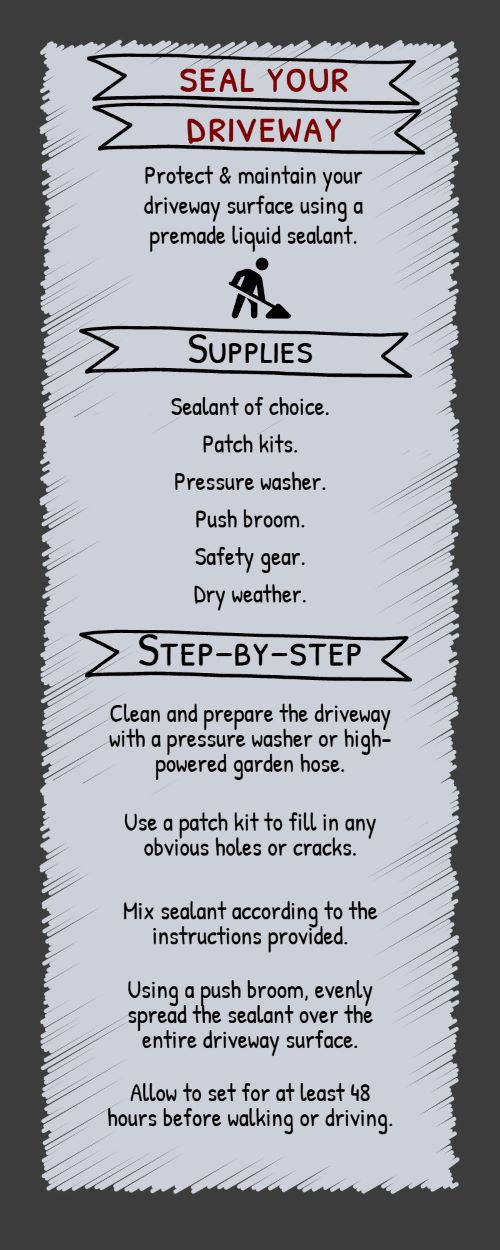
Driveway sealing typically refers to using a premade liquid sealant to help maintain your driveway’s appearance while sealing small fractures throughout the concrete. While this can be done by a professional, many homeowners opt to do the lighter lifting on their own.
It may seem counterintuitive to prepare your driveway before you find the right materials, but there is a reason this step comes first. Some of the most important facets of preparing your driveway before purchasing your supplies.
Check your asphalt driveway for potholes, deep cracks, worn edges and corners, oil and gas stains, etc. Doing a thorough inspection will help you budget and get the right materials for the job.
Once you've checked your driveway for smaller preparation points before cleaning, and your list is fully written out, it's time to purchase your supplies. This is when you'll get your driveway sealer of choice, small patch kits for any minimal damage, tools - such as a pressure washer, safety gear and additional advice needed.
Supplies can be bought online, but if you're new to the DIY lifestyle, you may want to get a few pointers from your local hardware store regarding materials, brands and other tips they may have.
After you've gotten your supplies, do a preliminary cleaning with a mild or water-only session from the pressure washer or high-powered garden hose. This helps remove any surface debris or grime before you start repairing any damage. After your surface treatment, let the driveway dry as much as needed before tending to the repairs.
Once the repair materials have set, do a thorough cleaning of your driveway. Check for any other stains that may need to be scrubbed clean before priming your driveway for sealing.
By now, you've got your asphalt driveway sealer sitting in your garage, waiting to be stirred. However, before you stir and apply the sealer, check for any areas you may have missed.
Make sure you choose a day with plenty of clear skies and docile weather. There are few home maintenance woes worse than sealing the entire driveway and having an afternoon rainstorm start. Once you're sure the weather is clear for the day of, and a few days after - depending on sealant, you're ready to prep your sealant.
Some driveway sealant doesn't need stirring or much prepping outside application. But every brand is different, so be sure to check the directions provided.
Just like the application instructions, each brand of sealant has specific aftercare instructions. However, some of the most common include keeping your driveways clean and free of debris. You may also want to avoid doing hard impact construction work in recently repaired zones of your driveway to prevent damaging the area again.

As always, if you're uncomfortable completing this DIY task yourself or simply want the help of someone more experienced, contact a professional.